Kansai Airport Immigration and Departures: The Whole Flow, Step by Step
- Kansai International Airport
- Japan immigration
- Japan departure
- Visit Japan Web
- airport procedures
Kansai International Airport (KIX) clears passengers faster than most Japanese gateways, but a first arrival still snags on the same few points: whether the declarations were filed, which machine takes the fingerprint, which carousel is yours, where to go once you are through, and how early to come back for the flight home.
This guide walks both directions in order and stays on the process itself — no transport comparison. For getting into Kyoto or Osaka, see the JR HARUKA guide and the Kansai airport arrival guide. Procedures change, so check what the airport and the Japanese authorities publish before you travel.
1. Before you land: file both declarations
Japanese entry has two parts: immigration and customs. The easy way is Visit Japan Web, filled in before you fly, which produces QR codes for both — screenshot them and keep them in the camera roll. One filing can cover the family travelling with you, and you will not be hunting for a signal in the queue.
Without it, ask for a paper arrival card on the plane or fill one in at the desks in the arrivals hall. Some airlines no longer hand out paper forms and show a QR code after boarding instead — awkward without data, so file ahead. Save the codes separately: airport Wi-Fi comes and goes, and loading them live is unreliable.
2. From the aircraft to immigration: quarantine, fingerprints and photos
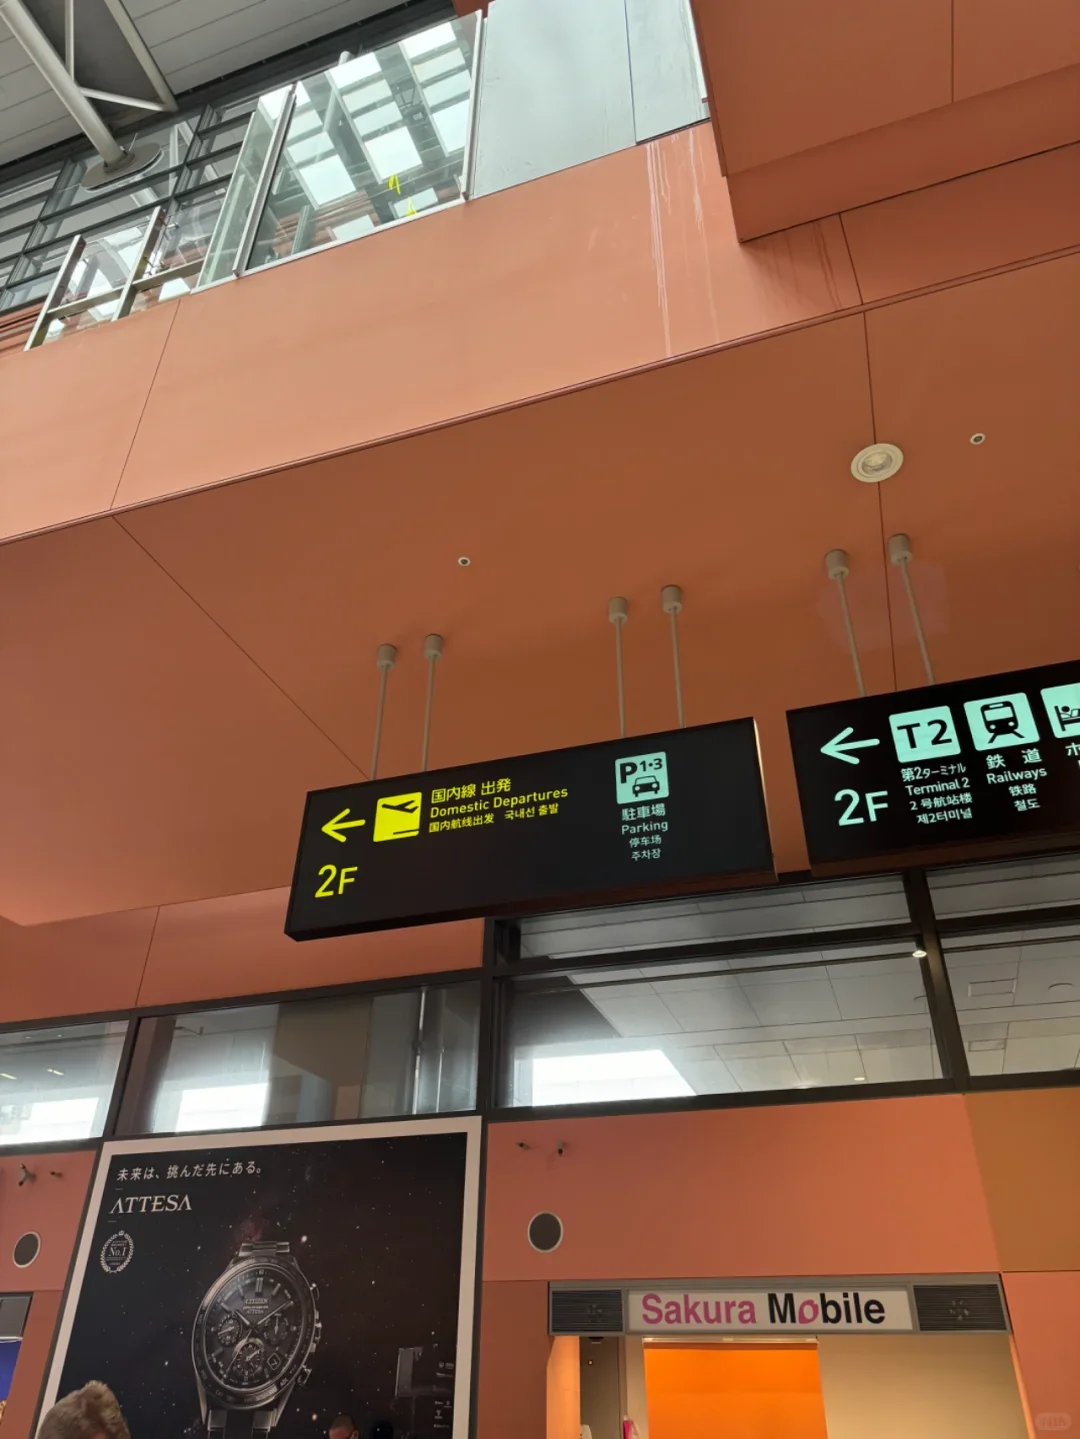
Follow the signs for 国際線 到着 / International Arrivals. Most T1 flights arrive through a jet bridge; a remote stand means a two- or three-minute bus ride. T2 is a separate building with a shorter walk.
The first stop is quarantine and a temperature check, which may require a health declaration depending on the rules in force. Then come the self-service kiosks: place the photo page of your passport on the reader, follow the prompts to take your photograph and record your fingerprints. The screens offer English and staff are on hand throughout. With children, or a fingerprint that will not read, use the staffed lane.
This is where the queue forms: several flights landing together means twenty or thirty minutes, staggered arrivals under ten.
3. Immigration, baggage and customs
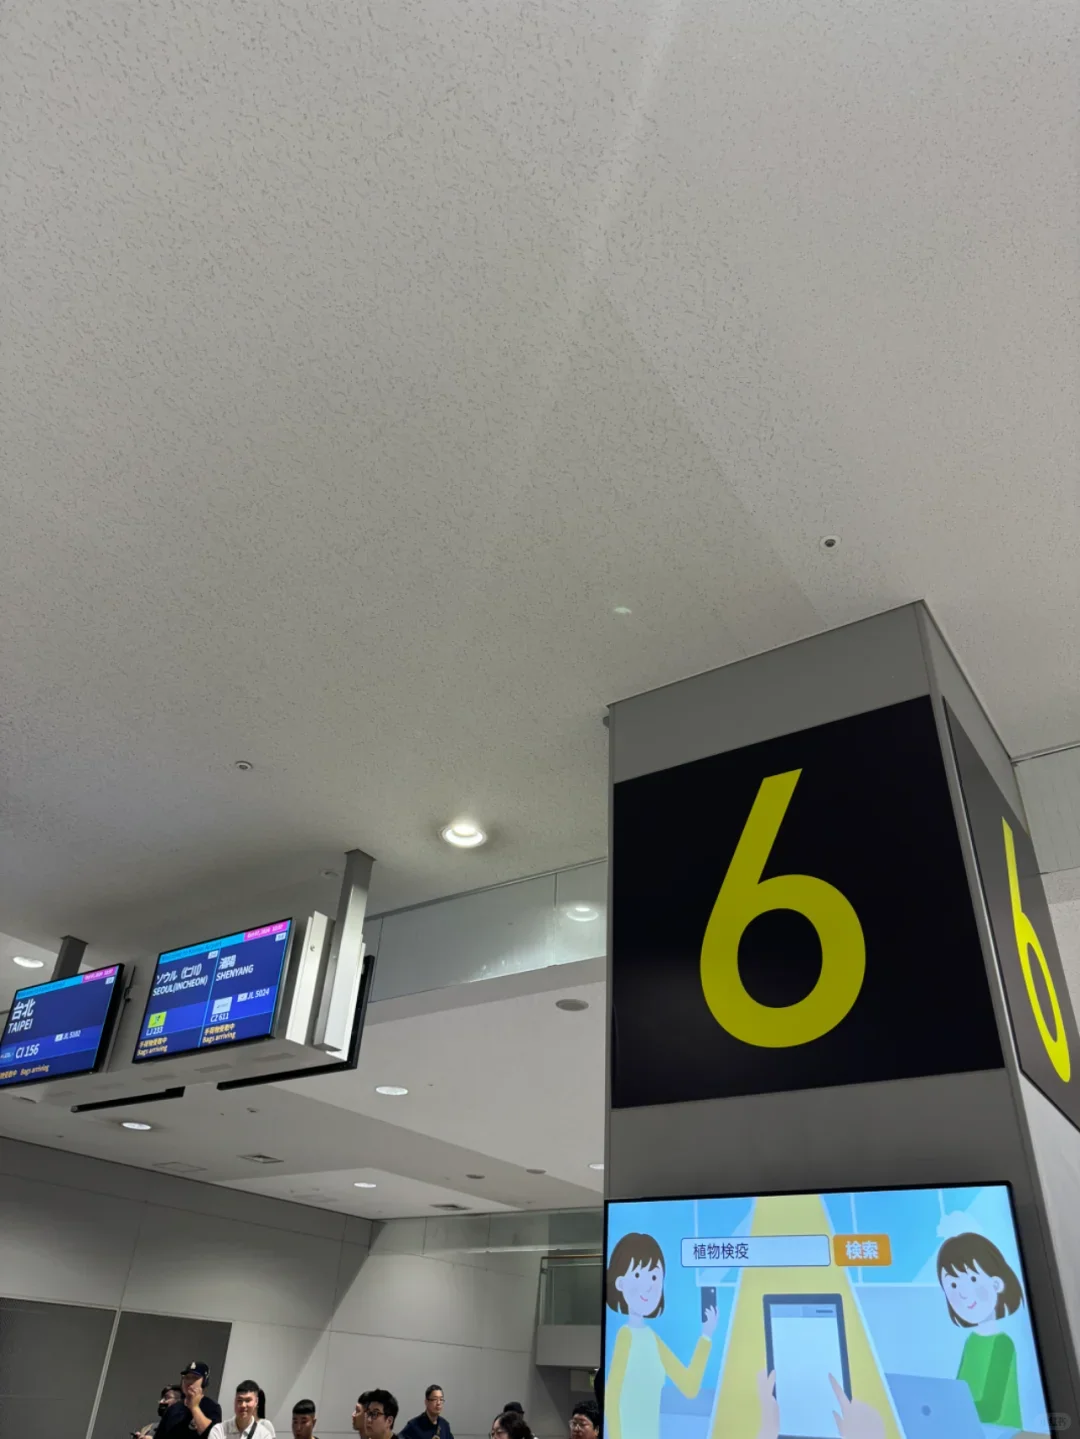
The immigration counters are divided by status, and short-stay visitors use the marked lanes. Hand over your passport and the QR code, or the paper card; the officer usually asks how long you are staying and where, takes a fingerprint and waves you through — a couple of minutes. Then find your flight's carousel on the screens. Bags usually take 15–25 minutes, and the trolleys are free.
With your bags, take the nothing-to-declare lane. KIX uses self-service customs terminals: scan the passport, scan the QR code, answer a few questions, and carry your bags through the last checkpoint. If you have something to declare — excess alcohol or tobacco, meat, large amounts of cash — use the red lane and say so first; volunteering it is easier than being caught.
4. Out of the hall and up to the trains
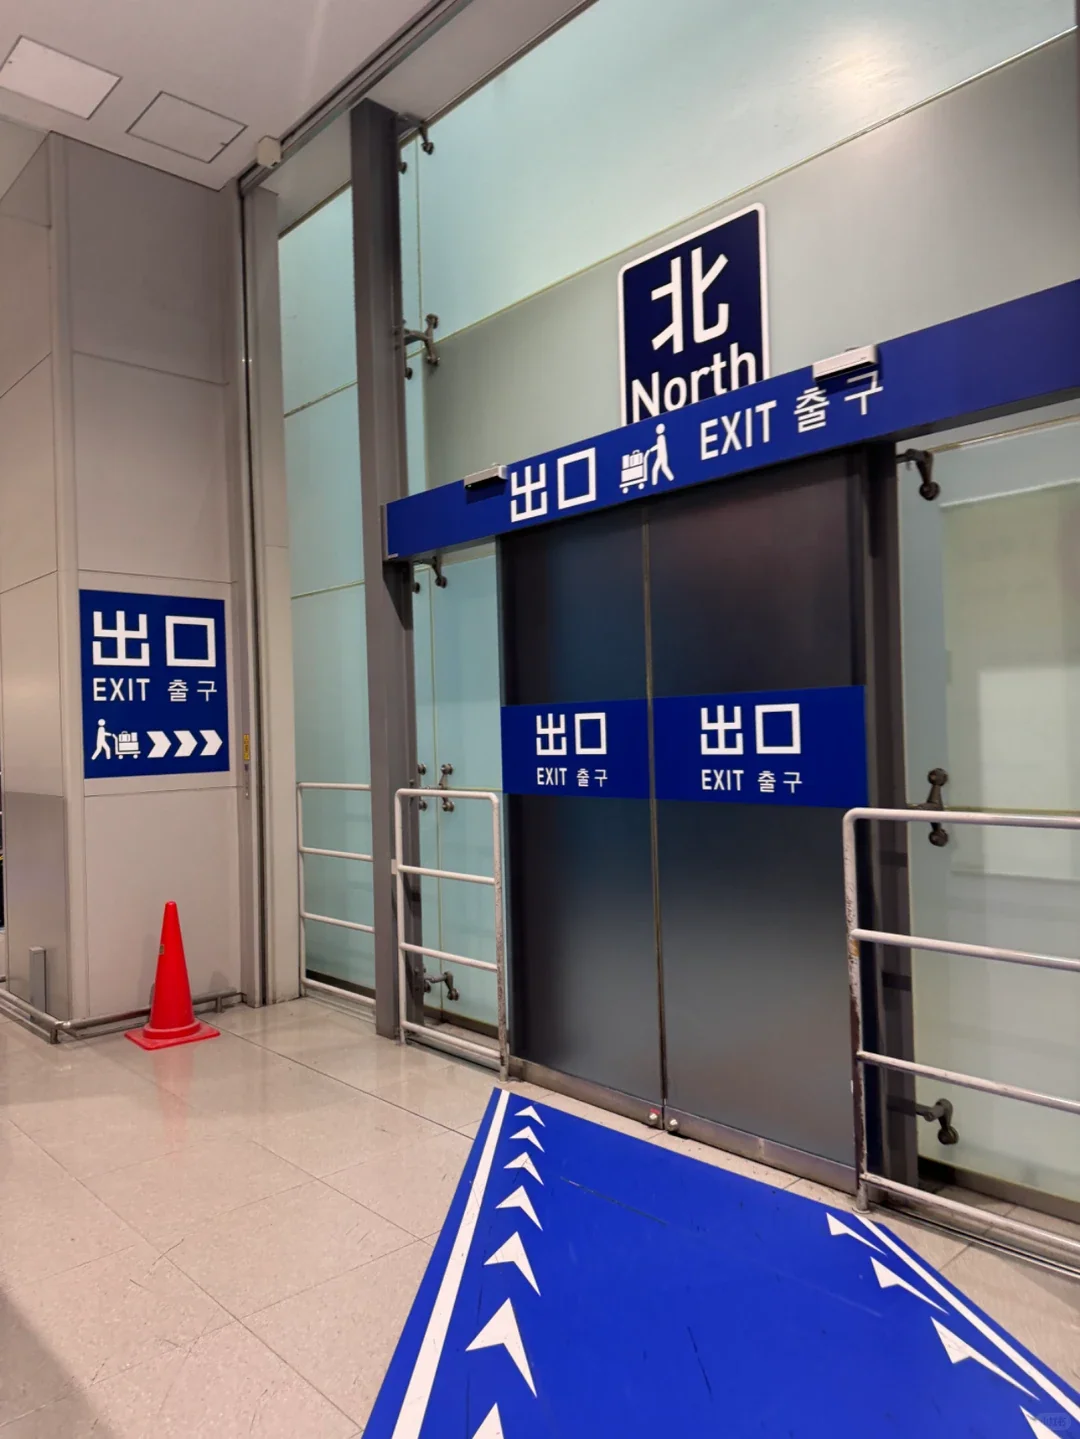
You emerge into the T1 arrivals lobby on level 1. On the left are the currency exchange, the Wi-Fi and SIM counters and the tourist information desk; on the right, the doors to the buses and taxis. The railway is one level up: take the escalator, cross the walkway, and you are at the Nankai and JR ticket areas.
Budget it like this: on a smooth run, about 50 minutes from the aircraft door to a HARUKA ticket in hand; with a long baggage wait, or when several flights land at once, an hour to an hour and twenty minutes.
| Stage | Reference time |
|---|---|
| Aircraft to immigration | 10–25 min |
| Baggage | 15–25 min |
| Customs to the exit | 5–10 min |
| Exit to the railway level | 5–8 min |
If a domestic flight follows, follow the 国内線乗り継ぎ / Domestic Transfer signs back up to the domestic departure level after clearing. Whether your bags are through-checked depends on whether both flights are on one ticket; if not, collect and re-check them, and allow at least two hours.
5. The way home: check-in, the tax-free desk and security
For an international departure, arrive 2.5–3 hours ahead. Counters usually open about 2.5 hours before the flight and close around an hour before it, airline rules permitting, and in peak season, at weekends and over Japanese holidays the security queue grows well beyond that.
Check-in is queued by flight, and screens plus ground staff direct you. One island may handle several flights at once, so read the flight number and destination before joining — the wrong queue costs real time. Once the boarding pass is issued and the bag is checked, head for the international departure entrance.
Anyone who bought tax-free goods in Japan has one more stop after bag drop and before security: the customs counter, where a self-service terminal scans your passport. It takes seconds, and skipping it can mean being asked to pay the consumption tax on the way out. Security follows: coats off, electronics and power banks stay in your bag, everything in the tray. Bags leave the scanner by one of two exits — the near one if all is well, the far one beside the staff if it needs a second look and possibly a search.
Baggage weight is the other snag: weigh the case at the counter and move heavy items into your carry-on, or pay the excess there rather than at the gate.
6. Passport control and the gate: how much time to leave
Passport control comes after security — scan, photograph, fingerprint, a couple of minutes — and then you are in the duty-free and gate area. Boarding usually starts 30 minutes before departure and the gate closes 10–15 minutes before it, as the airline announces.
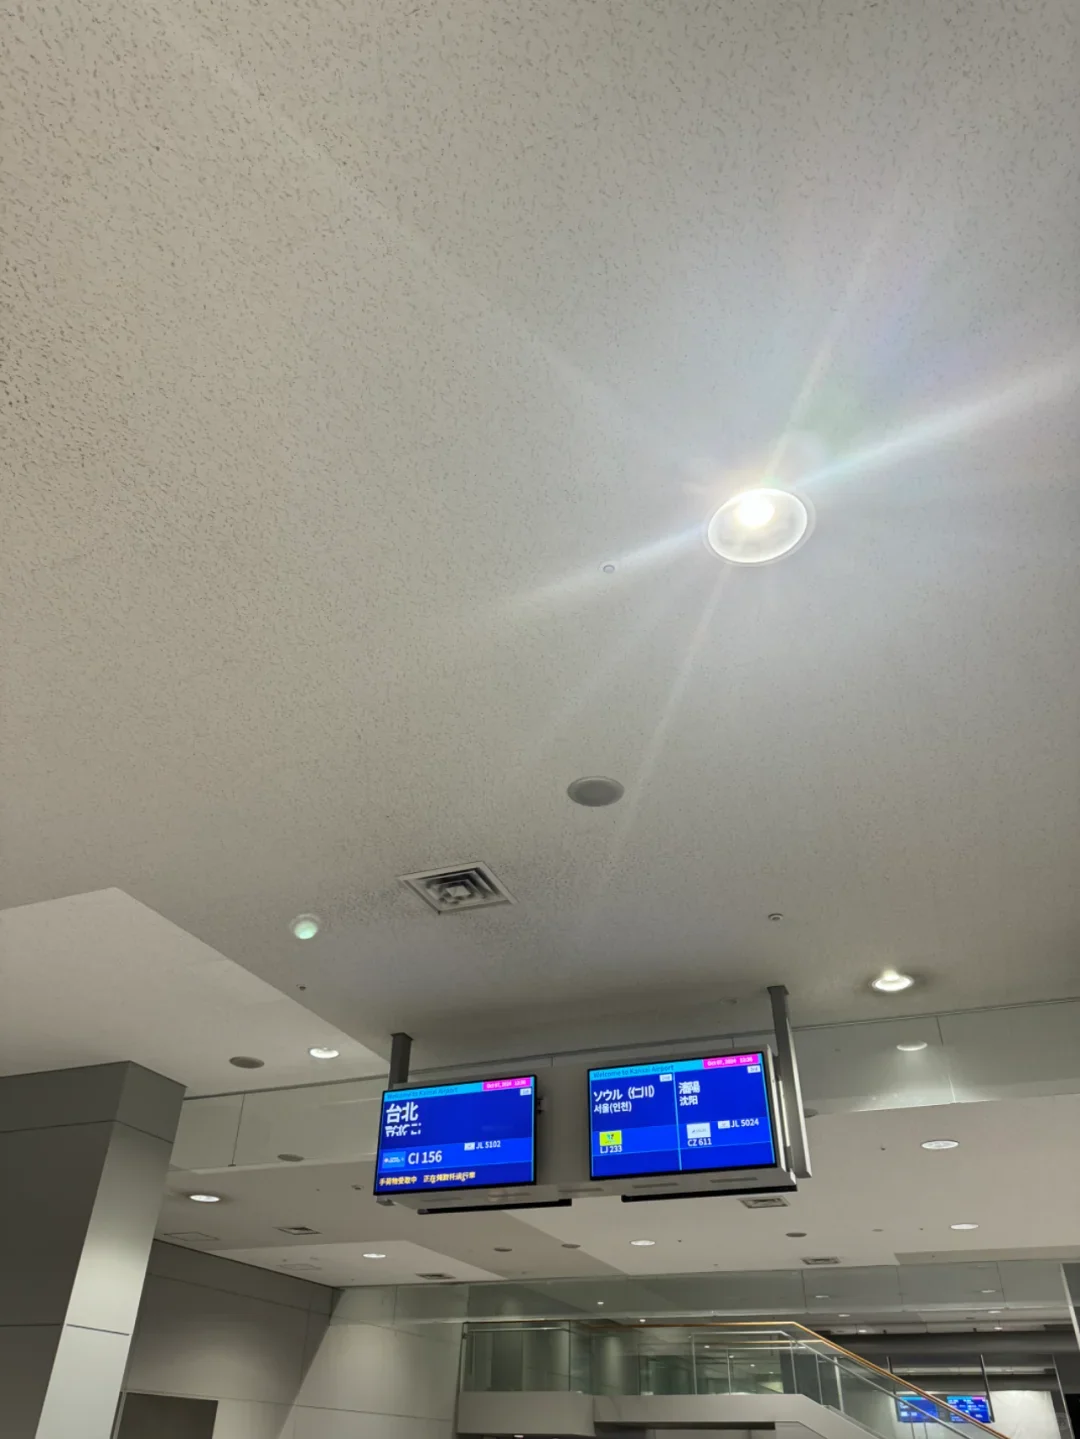
Work backwards: 20 minutes from the gate area to boarding, 40 minutes for security and passport control, 40 minutes for check-in and bag drop, plus the journey in. A slow queue then does not turn into a run.
A few things that catch people out. Flights leaving from T2 require the free shuttle first, so add 15–20 minutes for the wait and the ride. Peak-season security takes twice as long. Liquids and knives in the wrong place in your carry-on cost you a bag search. And the screens update the gate in real time, so check yours once you are through.
Related links
- On this site: Kansai International Airport (KIX), Japan (JP)
- More articles: Kansai Airport to Kyoto on the JR HARUKA, Kansai airport arrival guide, Your first hour at Kansai Airport
- Wikipedia: Kansai International Airport
- Baidu Baike: Kansai International Airport
Entry and customs rules, check-in and security times follow Japanese government and Kansai Airport publications; what happens on the day prevails. Image credit: compiled from public material.
More articlesTravel notes
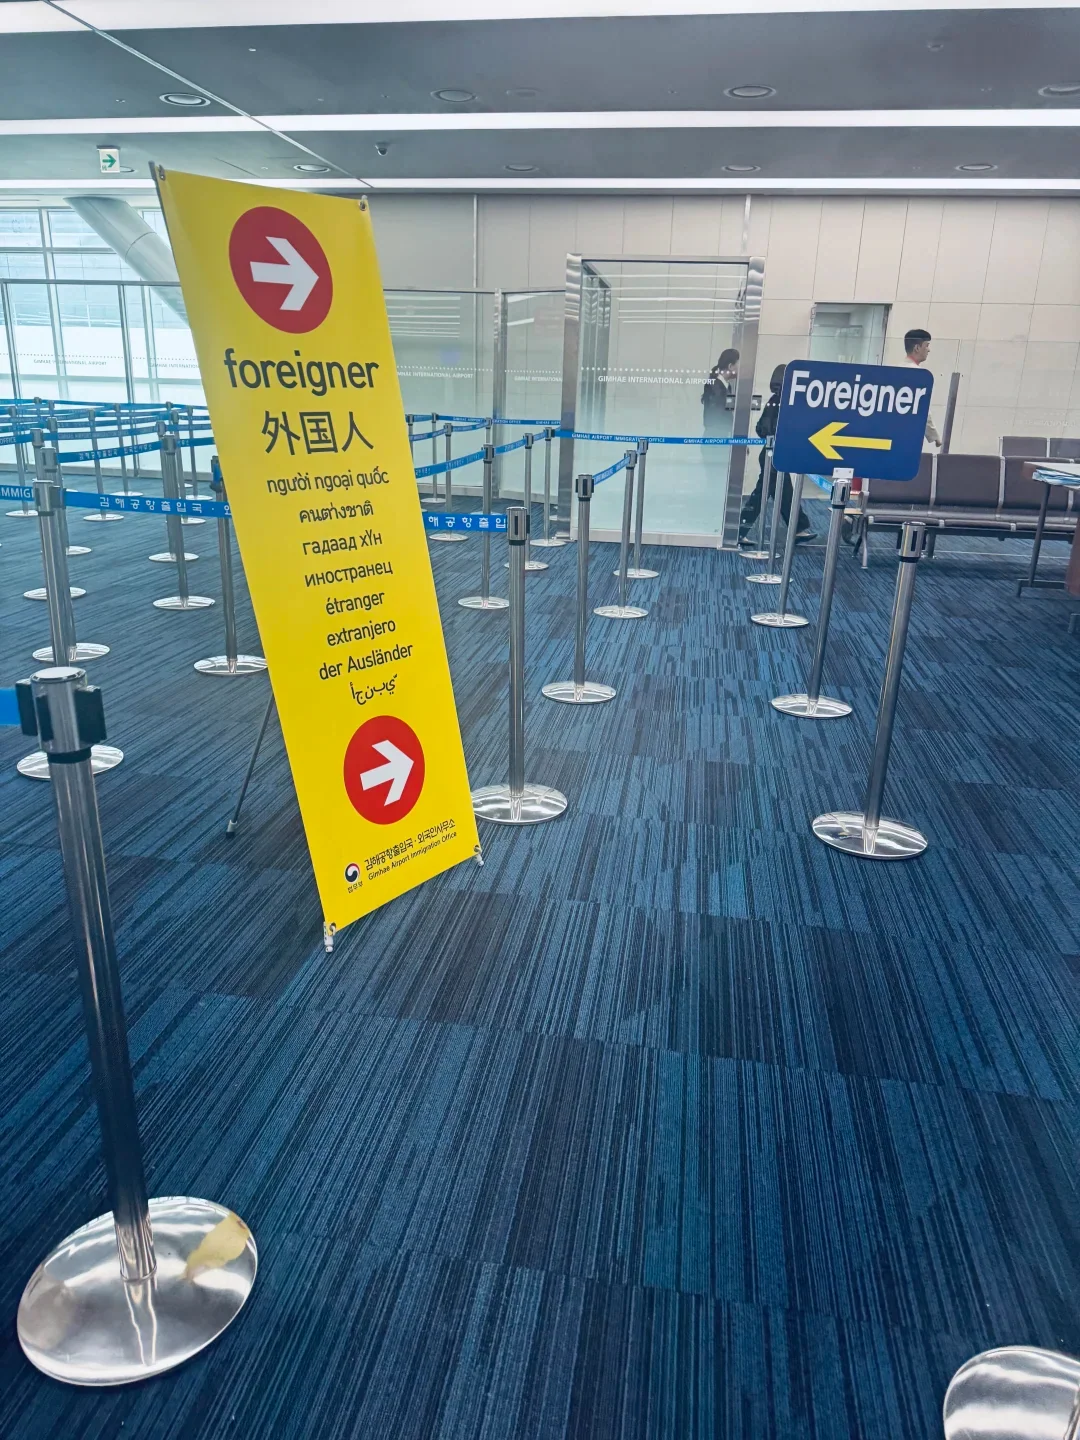
Arriving at Busan Gimhae: e-Arrival Card, Immigration and Customs
A practical walkthrough of arrival at Gimhae International Airport (PUS): filing the Korean e-Arrival Card three days ahead, preparing a Korean address and five-digit postal code, the foreigner lane with fingerprint and face capture, baggage and customs, and how to reach the light rail, bus or taxi after exit.5 min read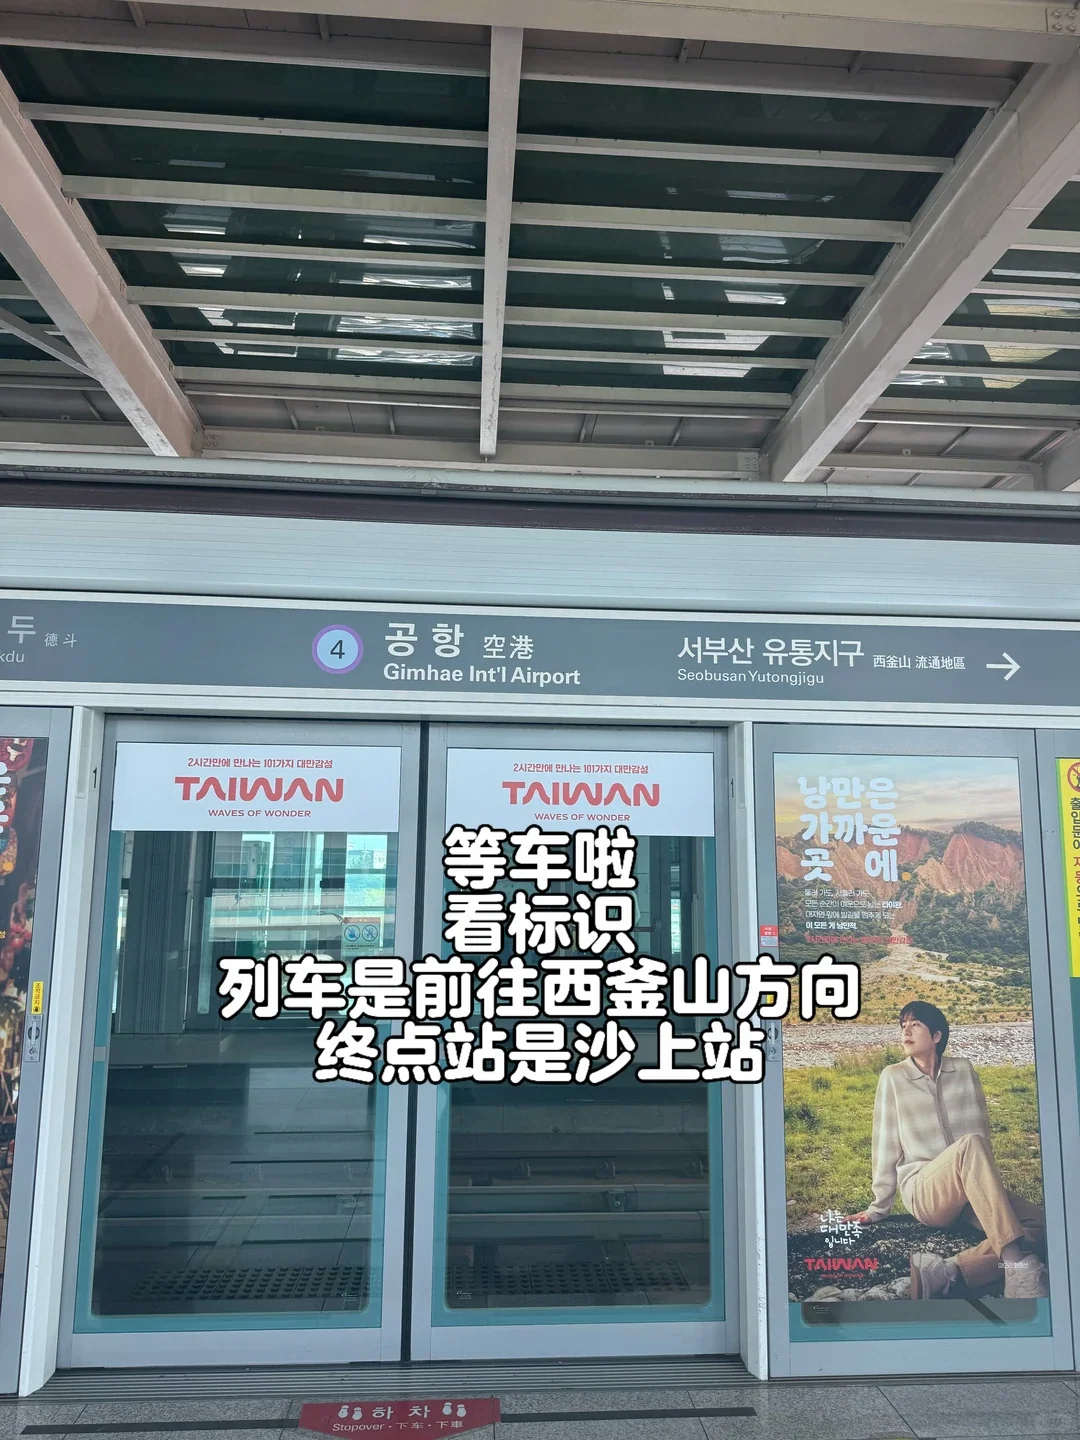
Busan Gimhae Airport by Light Rail: Airport Station to Line 2
A step-by-step guide to the Busan–Gimhae Light Rail Transit from Gimhae International Airport (PUS) into Busan: the walk from international arrivals to Airport Station, T-money and ticket fares, three stops and six minutes to Sasang, the change to the green Line 2, and journey times to Seomyeon and Haeundae.4 min read